

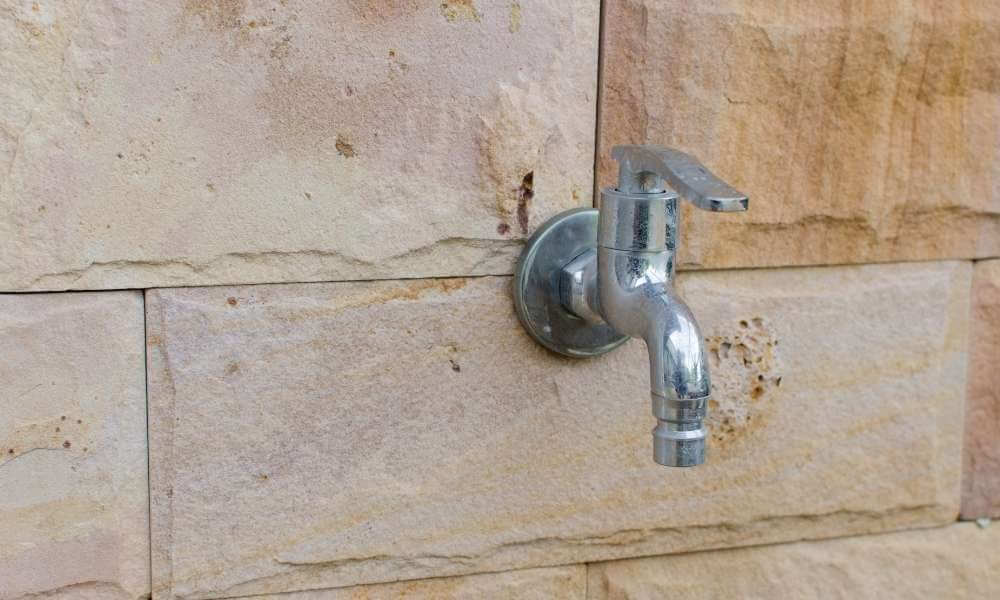
Replacing a kitchen faucet is a fairly easy task and can be completed in about an hour. The first step is to remove the old faucet from the sink. This is usually accomplished by unscrewing it from the sink deck with a wrench. Once the old faucet has been removed. Clean off any old sealant or caulking from the sink deck and the holes where the faucet was attached.
Next, install the new faucet by screwing it into place with a wrench. Be sure to follow the manufacturer’s instructions for tightening the faucet. Once it is securely in place reattach. The water supply lines and tighten them with a wrench as well. Turn on the water and check for leaks. If any leaks are detected tighten the connections further until they are no longer leaking.
Why Change The Faucet In The Kitchen?

If your kitchen faucet is leaking, corroded, or just plain outdated, it may be time for a change. Replacing a kitchen faucet is a relatively simple task. That can be completed in less than an hour. Here’s how to do it.
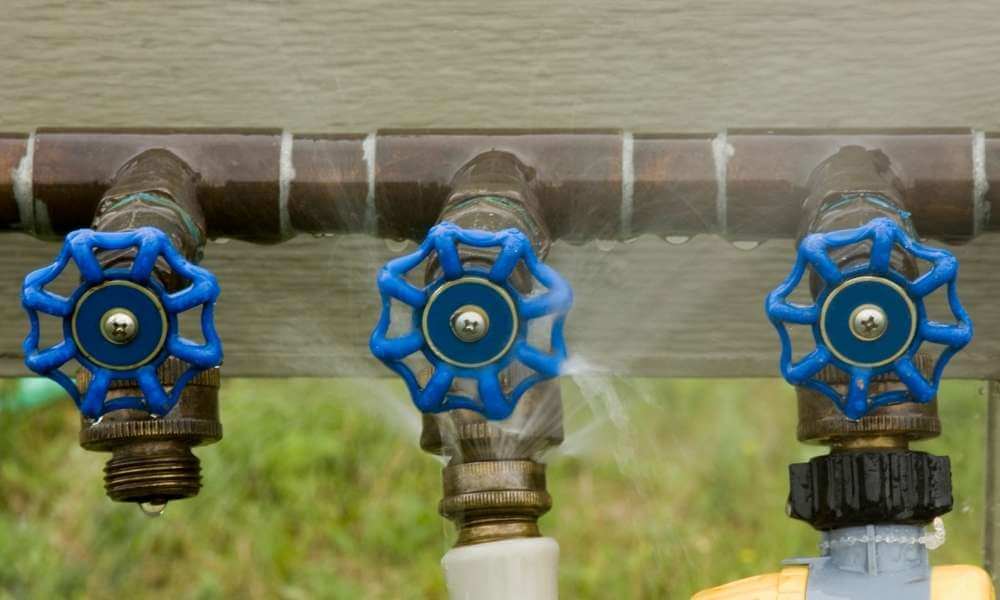
1. Shut off the water supply to the faucet by turning off the valve under the sink.
2. Disconnect the hoses from the faucet by unscrewing them counterclockwise.
3. Remove the old faucet by unscrewing it from the sink basin.
4. Install the new faucet by screwing it into place and reconnecting the hoses.
5. Turn on the water supply and check for leaks.
The Process Of Changing The Kitchen Faucet

Changing a kitchen faucet can seem like a daunting task. But with the right tools and instructions. It can be a relatively easy project. Here is a step-by-step guide on how to change a kitchen faucet:
- Shut off the water supply to the faucet by turning off the valves under the sink.
- Disconnect the supply lines from the faucet by unscrewing them from the valves.
- Disconnect the spray hose from the faucet by unscrewing it from the connector on the back of the faucet.
- Unscrew and remove the old faucet from the sink.
- Install new faucet according to manufacturer’s instructions. Make sure to connect all of the supply lines and spray hose before tightening any screws.
What Tools Are Needed A Kitchen Faucet

A kitchen faucet is a key piece of equipment in any kitchen. It is important to have a faucet that is functioning properly and meets your needs. If your faucet is leaking, dripping, or just not working the way you want it to, you may need to replace it. Changing a kitchen faucet is not a difficult task. But there are some tools that you will need in order to do it properly.
The first thing you will need is a basin wrench. This tool allows you to get into tight spaces and twist the faucet off the sink. You will also need an adjustable. Wrench to remove the nuts that hold the faucet in place. In addition you will need pliers to remove the water supply lines from the faucet.
Turn The Old Faucet Counterclockwise
When it’s time to change your kitchen faucet turn the old one counterclockwise. Loosen the nut at the base of the faucet with a wrench. If the nut is too tight, spray it with WD-40 and let it sit for a few minutes. Lift the faucet off its base and set it aside.
Disconnect the water lines from the faucet using adjustable pliers. Wrap Teflon tape around each threaded connection and reattach them to the new faucet. Install the new faucet by reversing the steps you took to remove the old one. Tighten the nut at the base of the new faucet with a wrench.
Disconnect The Hose From The Faucet
Changing a kitchen faucet is a relatively easy task. That can be completed in about an hour depending on the model. The first step is to disconnect the hose from the faucet. Next, remove the aerator from the end of the hose and discard it. Finally, unscrew the nut that holds the faucet in place and detach it from the sink. Installation is simply a reversal of these steps. Be sure to read the manufacturer’s instructions carefully before beginning to avoid any potential problems.
Choose replacement call
Replacing a kitchen faucet can seem daunting, but with the right tools and some instruction, it’s a job anyone can do. Here are the steps you’ll need to take:
1. Turn off the water supply to the faucet by turning the shut-off valve under the sink counterclockwise.
2. Disconnect the supply lines from the faucet by unscrewing them counterclockwise.
3. Remove the old faucet by unscrewing it from the sink deck (or countertop) counterclockwise.
4. If installing a new faucet, attach mounting nuts to the underside of the sink deck or countertop using a wrench. If using an existing hole, simply insert the new faucet and tighten mounting nuts clockwise with a wrench until snug.
Consider The Size Shape And Style Of The New Faucet
When choosing a new kitchen faucet consider the size shape and style of the faucet. The height of the faucet should be considered to make sure. It is high enough to avoid water spots on the counter. The shape of the faucet should be considered to make sure. It will fit in the space available. The style of the faucet should be considered to match the décor of the kitchen.
Separate The Old Faucet From The Water Line And Sink
Replacing a kitchen faucet is a relatively easy day project. That can be completed in about an hour. The first step is to shut off the water supply to the faucet by turning off the valves under the sink. Next, use a wrench to loosen the nuts on the faucet line and remove it from the sink. Finally disconnect the old faucet. From the water line and remove it from the sink.
Install New Call
Changing a kitchen faucet is a DIY project that most homeowners can do in an afternoon with a few basic tools. The process is simple and only requires a few steps.
First, turn off the water supply to the faucet by turning the valve in the wall to the right. Next, use an adjustable wrench to loosen the nuts that hold the faucet in place. Be sure to have a bucket underneath to catch any water that may drip from the pipes.
Once the nuts are loose, pull out the old faucet and discard it. If there is any sealant or putty around the base of the faucet, remove it with a utility knife. Apply plumber’s putty around the base of the new faucet and tighten the nuts until they are snug.
Connect The Water Lines And Install The New Faucet
If you’re replacing an old kitchen faucet with a new one, the first step is to turn off the water. Find the shut-off valves for the sink and turn them off. If you can’t find the shut-off valves, or if they’re not working, turn off the water supply to the entire house.
Once the water is turned off it’s time to disconnect the old faucet. There are usually two nuts at the base of the faucet that needs to be loosened. Once they’re loose, pull up on the faucet and it should come right out.
Now it’s time to connect the new faucet. Put a washer on each of the threaded studs and then screw on one of the nuts by hand. Don’t tighten it all the way yet.
New Call Check Out
It’s no secret that the kitchen is the heart of a home. This is where meals are prepared and shared with family and friends. That’s why when something goes wrong in the kitchen, it can be really frustrating. If your kitchen faucet isn’t working as it should don’t worry. You can probably fix it yourself.
The first step is to identify the problem. One common issue with kitchen faucets is that the water pressure isn’t strong enough. If this is the case for you, there are a few things you can do to fix it. The most obvious solution is to replace the faucet head with one that has a higher flow rate. You can also try increasing the water pressure at your sink by adjusting the knob on your water heater.
Water Is Flowing Through The Line To Make Sure Everything Is Working Properly
The water is turned off at the shutoff valve below the sink. The old faucet is unscrewed and removed. The new faucet is installed, making sure that the packing nut is tight. The water is turned back on and the lines are checked for leaks.
Conclusion
Replacing a kitchen faucet is an easy day project that can be completed in less than an hour. All you need is a screwdriver and a wrench. The first step is to turn off the water supply to the faucet. Then unscrew the nuts on the faucet with a wrench and pull. The faucet off the sink. Be sure to disconnect the hoses from the faucet. The new faucet should come with installation instructions, but here are a few general tips.