
Understanding how to rewire a table lamp switch is a crucial skill for anyone looking to update or repair their lighting fixtures. When you rewire a table lamp switch, you not only restore its functionality but also enhance safety by replacing outdated or damaged components. This process is important because it can prevent electrical hazards and ensure the lamp operates efficiently. By learning to rewire a desk lamp switch, you save money on replacements and extend the life of your light. In this guide, we will explore the step-by-step process and benefits of rewiring, making it an accessible project for DIY enthusiasts. With clear instructions and practical tips, you’ll be able to tackle this task confidently and effectively.
Understanding The Basics
Before diving into the rewiring process, it’s crucial to understand the basic components of a table light button. A typical lights button consists of several key parts:
1. Switch Housing
The switch housing is the outer casing that houses the internal components of the button. It provides protection and support for the internal wiring.
2. Wires
Inside the button housing, you’ll find two wires: the hot wire (usually black or red) and the neutral wire (usually white). These wires are responsible for carrying the electrical current to and from the light.
3. Switch Mechanism
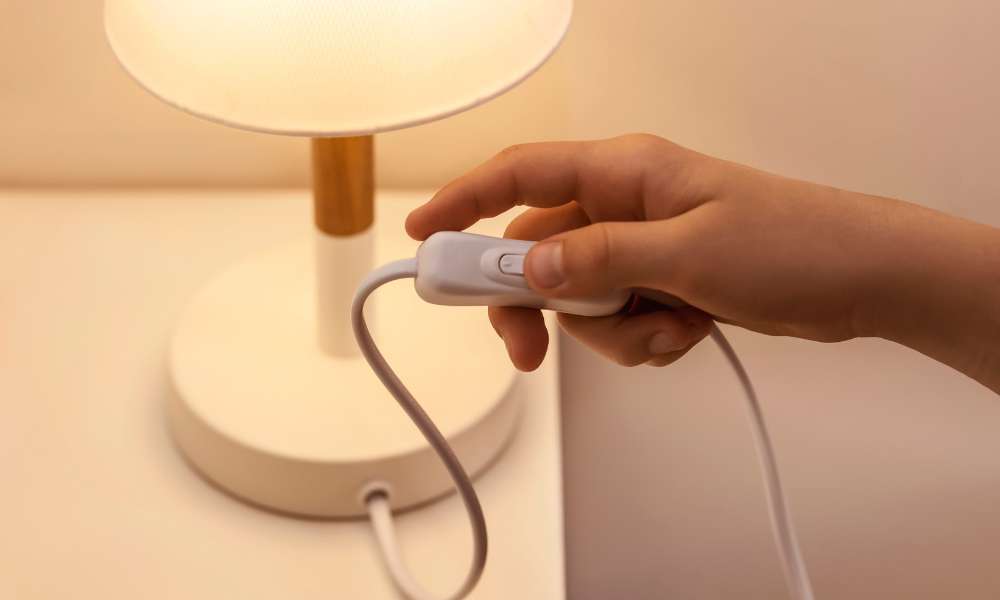
The switch mechanism is the part of that controls the flow of electricity. When the button is in the “on” position, it allows electricity to flow through the circuit, illuminating the lamp. When it’s in the “off” position, it interrupts the flow of electricity, turning off the light.
Step-By-Step Guide
1. Safety First
Safety first doesn’t just apply to our personal lives; it extends to the DIY projects we undertake, such as learning how to rewire a table lamp. Before you dive into this hands-on lesson, rewire a table lamp switch consider the hidden dangers lurking in something as familiar as your lighting fixture. Start by unplugging the light and ensuring that any residual energy has dissipated—a simple yet often overlooked step that can prevent electric shock. Use insulated tools for added protection; these act like a safety net against unexpected short circuits.
2. Disassemble The Lamp
You need to disassemble the lamp to access the switch. Start by removing the lamp’s bulb and any lampshade or decorative elements. Carefully unscrew the socket from the light base. If necessary, use a screwdriver to loosen any screws or fittings that hold the light together. This will give you clear access to the internal components where the button is located.
3. Identify The Wires
Once the lamp is disassembled, identify the wires connected to the old switch. Typically, you will find a hot wire (black), a neutral wire (white), and possibly a ground wire (green or bare). It is crucial to accurately identify these wires to ensure the new button is installed correctly and functions properly. Refer to the lamp’s wiring diagram if available.
4. Remove The Old Switch
Remove the old switch by carefully disconnecting the wires attached to it. Note how the wires are connected, as this will guide you in connecting the new switch. Strip a small portion of insulation from the ends of the wires if needed. Install the button by connecting the wires to the corresponding terminals, ensuring a secure and proper connection. Reassemble the light, plug it in, and test the new button to confirm everything is working as expected.
5. Install The New Switch
Once you’ve safely disconnected the old switch and removed the wiring from it, the next step in how to rewire a desk lights button is to install the new button. Start by connecting the button to the lamp’s wiring. Make sure to follow the manufacturer’s instructions for the correct wiring configuration. Securely attach the wires to the new button, ensuring that the connections are tight and properly insulated. This step is crucial as a well-installed button will ensure the light operates correctly and safely.
6. Test The Connection
After installing the new switch, it’s important to test the connection before reassembling the lamp. Plug the light into a power source and turn on the button to check if it functions as expected. Ensure that the light turns on and off smoothly and that there are no flickering or electrical issues. Testing the connection is a critical part of rewiring a desk lights button, as it confirms that the rewiring was successful and the button is working properly.
7. Reassemble The Lamp
With the new switch installed and the connection tested, you can now proceed to reassemble the light. Carefully put the lamp back together, ensuring that all components are securely fastened. Replace any parts you removed during the rewiring process and make sure everything is properly aligned. Reassembling the light completes the process of rewiring a desk light button, allowing you to enjoy your updated lighting fixture safely and effectively.
The Final Thought
Congratulations! You’ve successfully learned to rewire a table light switch. By following our comprehensive guide, you can tackle this DIY project with confidence and ensure the safety and functionality of your table light. Remember to always prioritize safety and consult a professional if you’re unsure about any aspect of the rewiring process.